Oven oops
Date: September-December 2023
Class: Object - Atlas 3300
Role: Sole creator and engineer
INTRODUCTION
Context
Identify a personal “pet peeve,” analyze the real-world conditions around it, and develop a physical solution supported by microcontroller technology.
Goal
Create a device that helps prevent people from accidentally leaving the oven on by: tracking cook time, displaying clear messages, providing visual signals, making an intuitive and easy to interact with alert system, ensuring safety while remaining low-profile and user-friendly.
Tools used
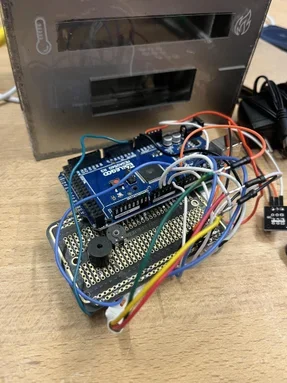
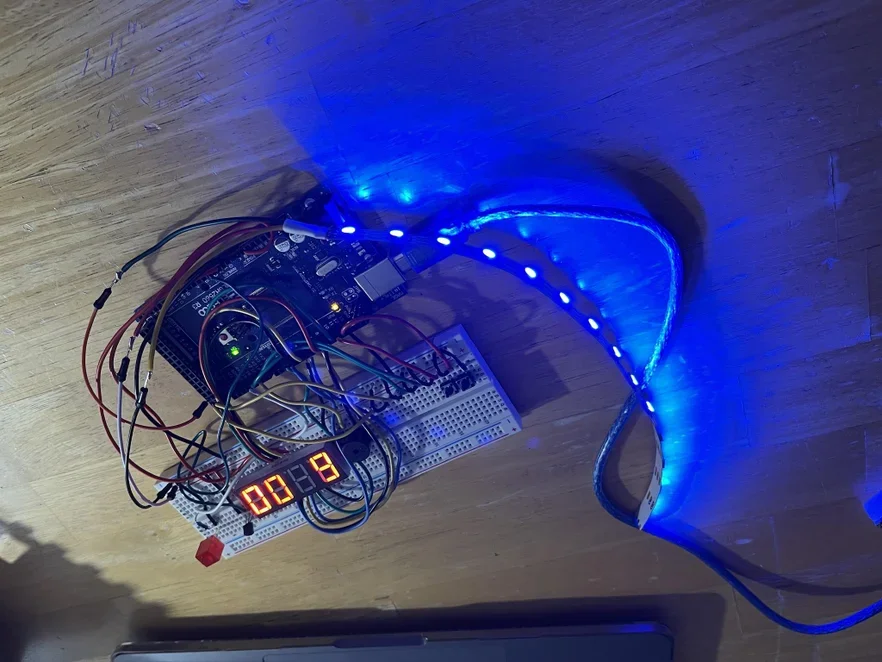
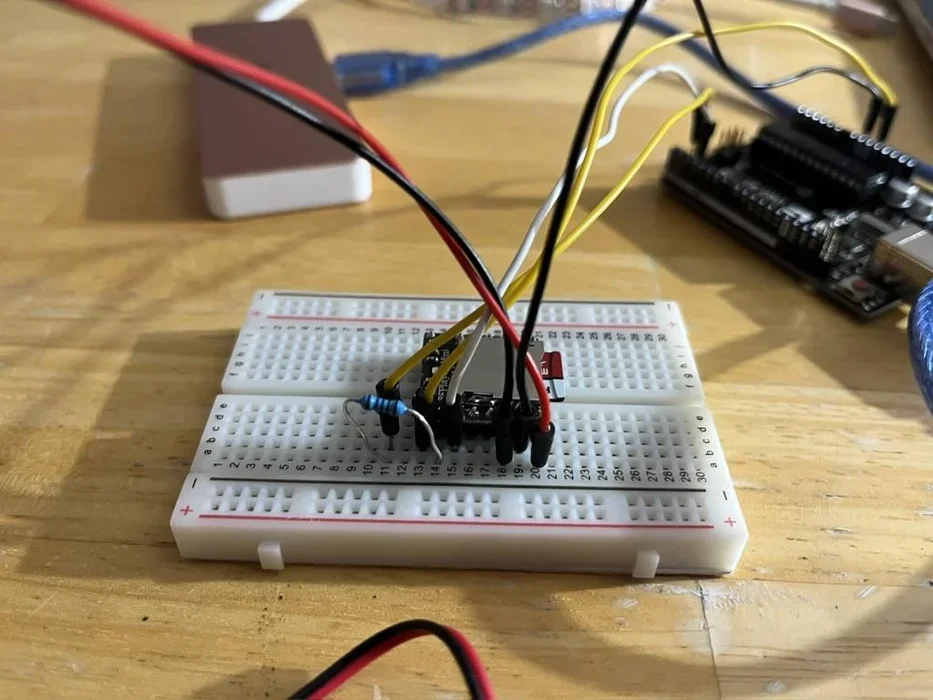
Iteration 1: Arduino mega, breadboard, jumper wires, 4 Digit Segment Display, LED, 1K Ohm Resistor, buttons, buzzer, heat sensor
Iteration 2: Arduino uno, breadboard, solderable breadboard, jumper wires, LCD display, potentiometer, neopixels, IR remote, IR receiver, buzzer, heat sensor
Timeline
Full-semester project (16 weeks)
Weeks 1–5 (iteration 1): Electronics fundamentals, Arduino basics, circuitry practice
Weeks 6–16 (iteration 2): Designing, prototyping, programming, and assembling Oven Oops
GALLERY
~
GALLERY ~
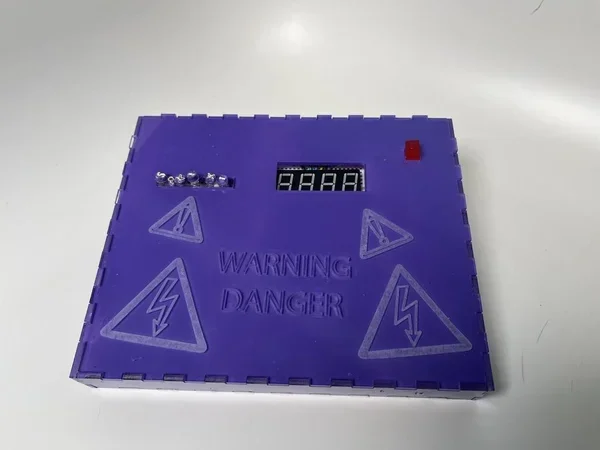
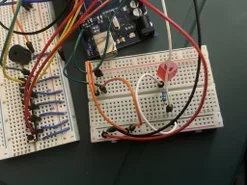
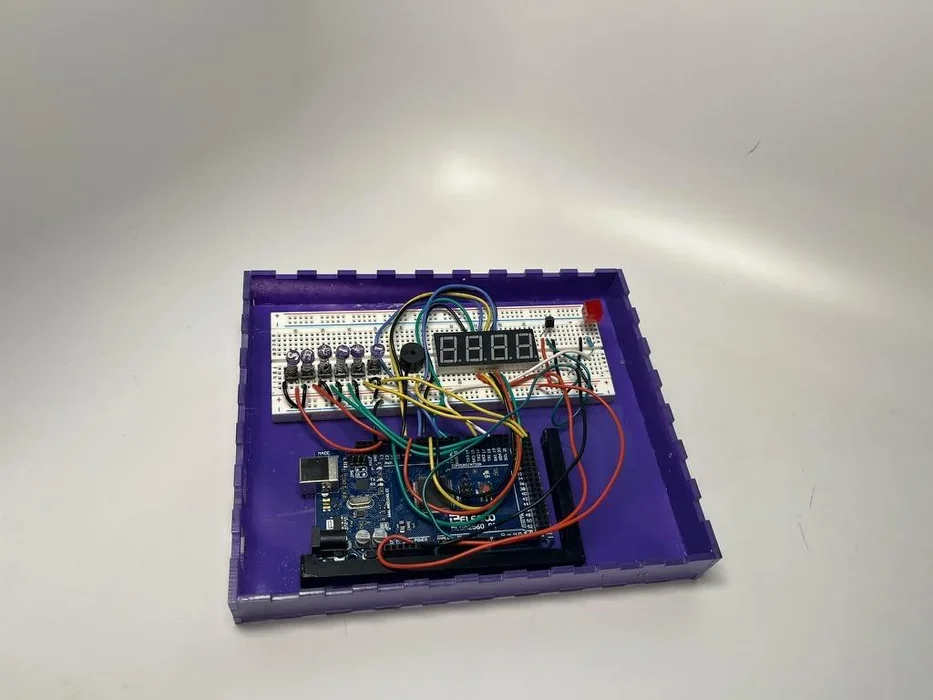
The first iteration device being set and started
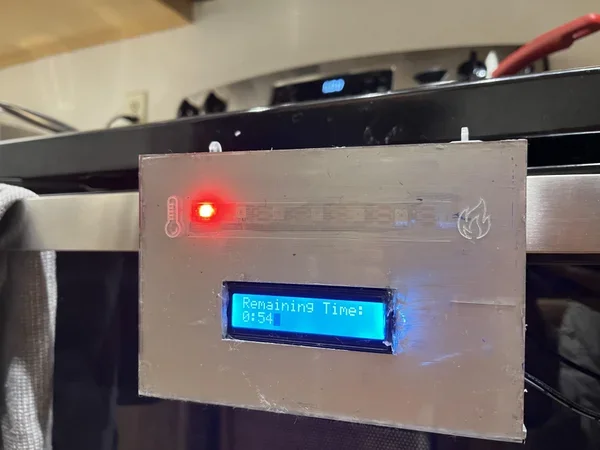
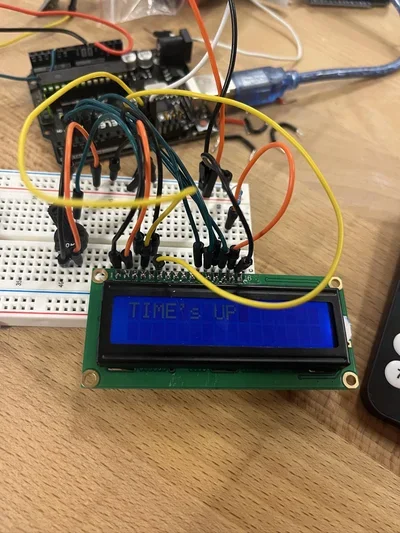
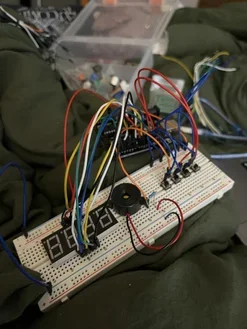
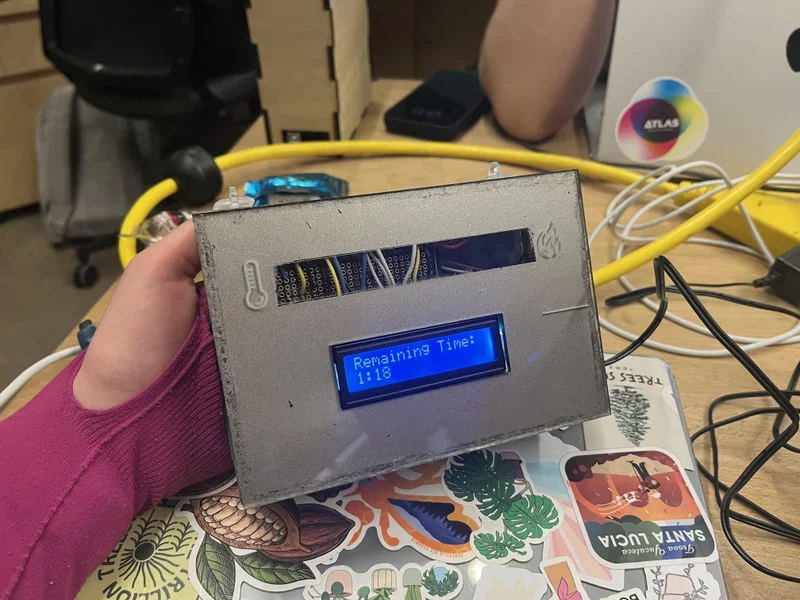
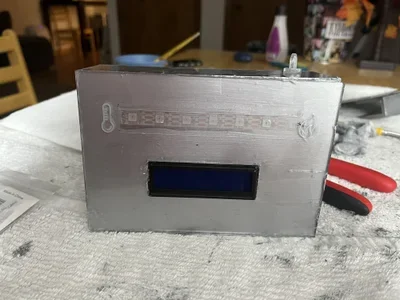
The timer countdown while active
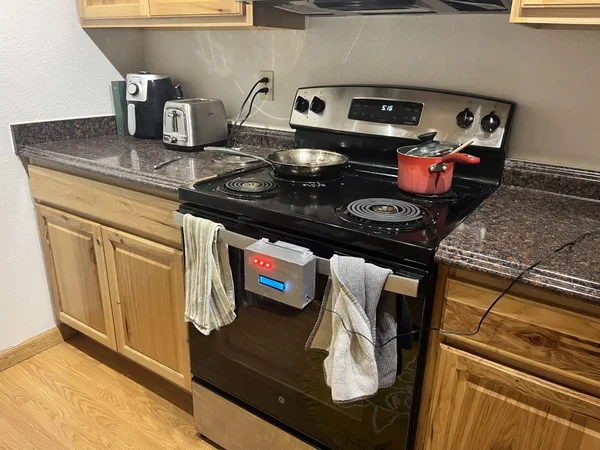
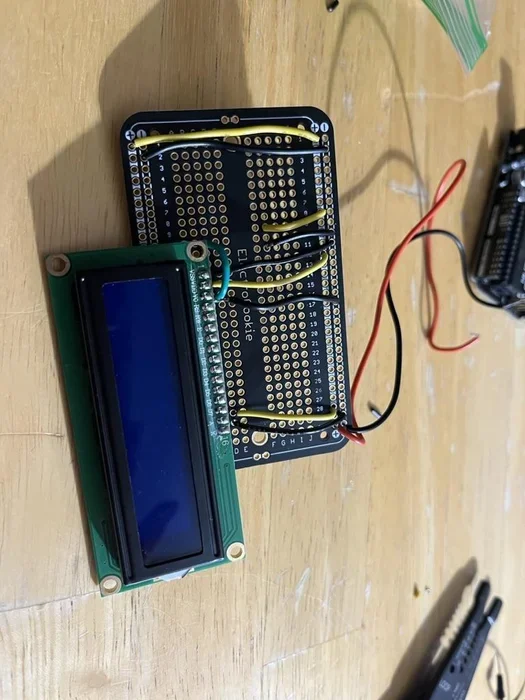
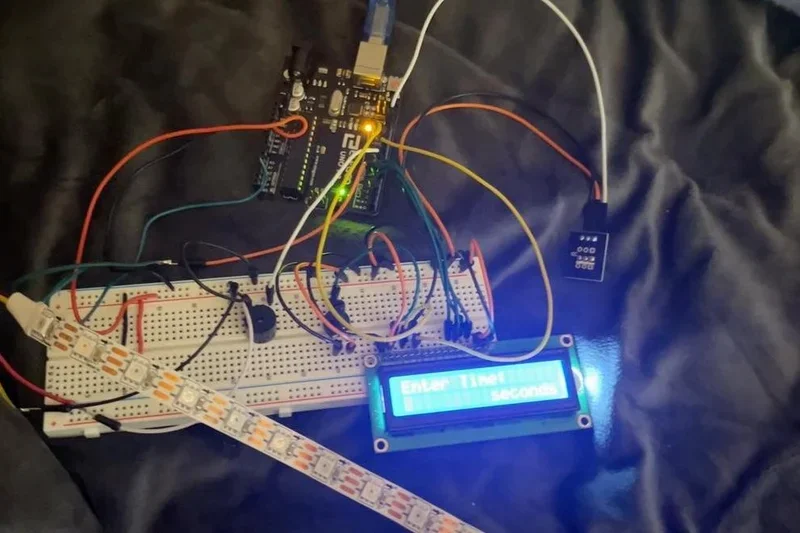
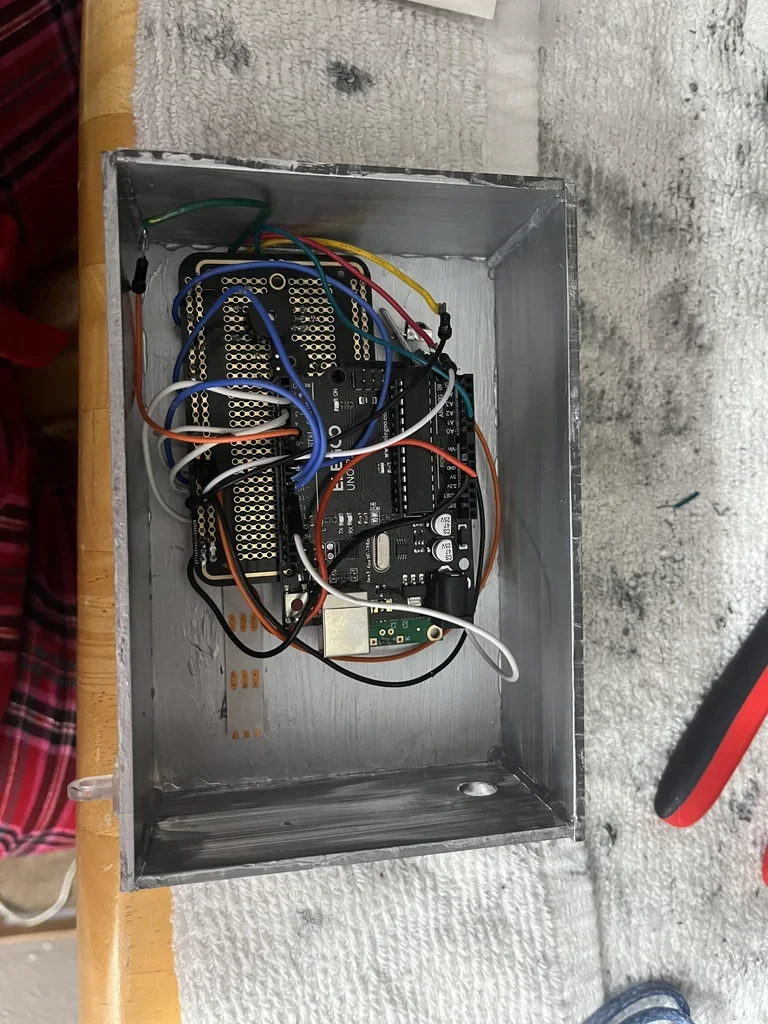
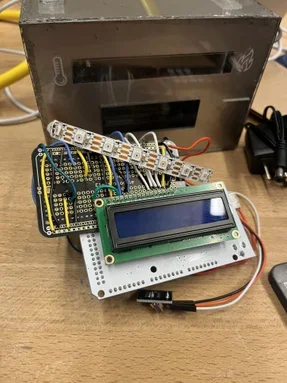
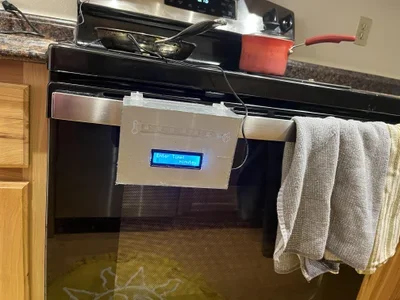
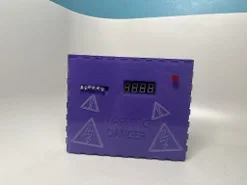
A show of the device and time set up

Starting the project
Identifying a pet peeve
The project began with a simple but serious problem of my roommate frequently left the oven on without realizing it.
I wanted a device that was: easy to understand, impossible to ignore, helpful without being annoying.This guided every design decision moving forward.
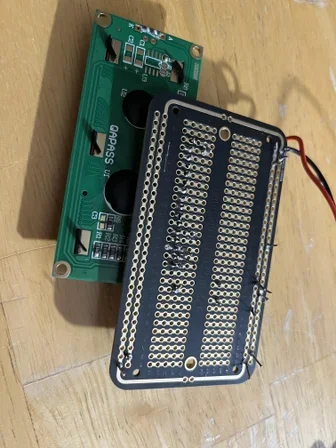
Early prototyping and circuit fundamentals
Before beginning the device, we spent five weeks building foundational skills in: LED behavior, circuit wiring, button input logic, debugging, microcontroller communication.
Iteration 1
Overall features
Two physical push buttons (set time + start)
Basic countdown timer
LED or buzzer alert
Simple printed circuitry on a breadboard
Goals of iteration 1
Get timing logic working
Establish a minimal viable version
Understand how to communicate alerts effectively
Challenges
Creating buttons with a spring
Timing accuracy
Understanding the code
Making sure alerts were noticeable but not obnoxious
A functional, ugly-but-effective prototype that proved the concept: Users could start a cook timer and receive an alert when the time was up
Result
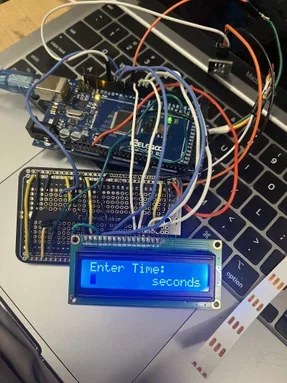
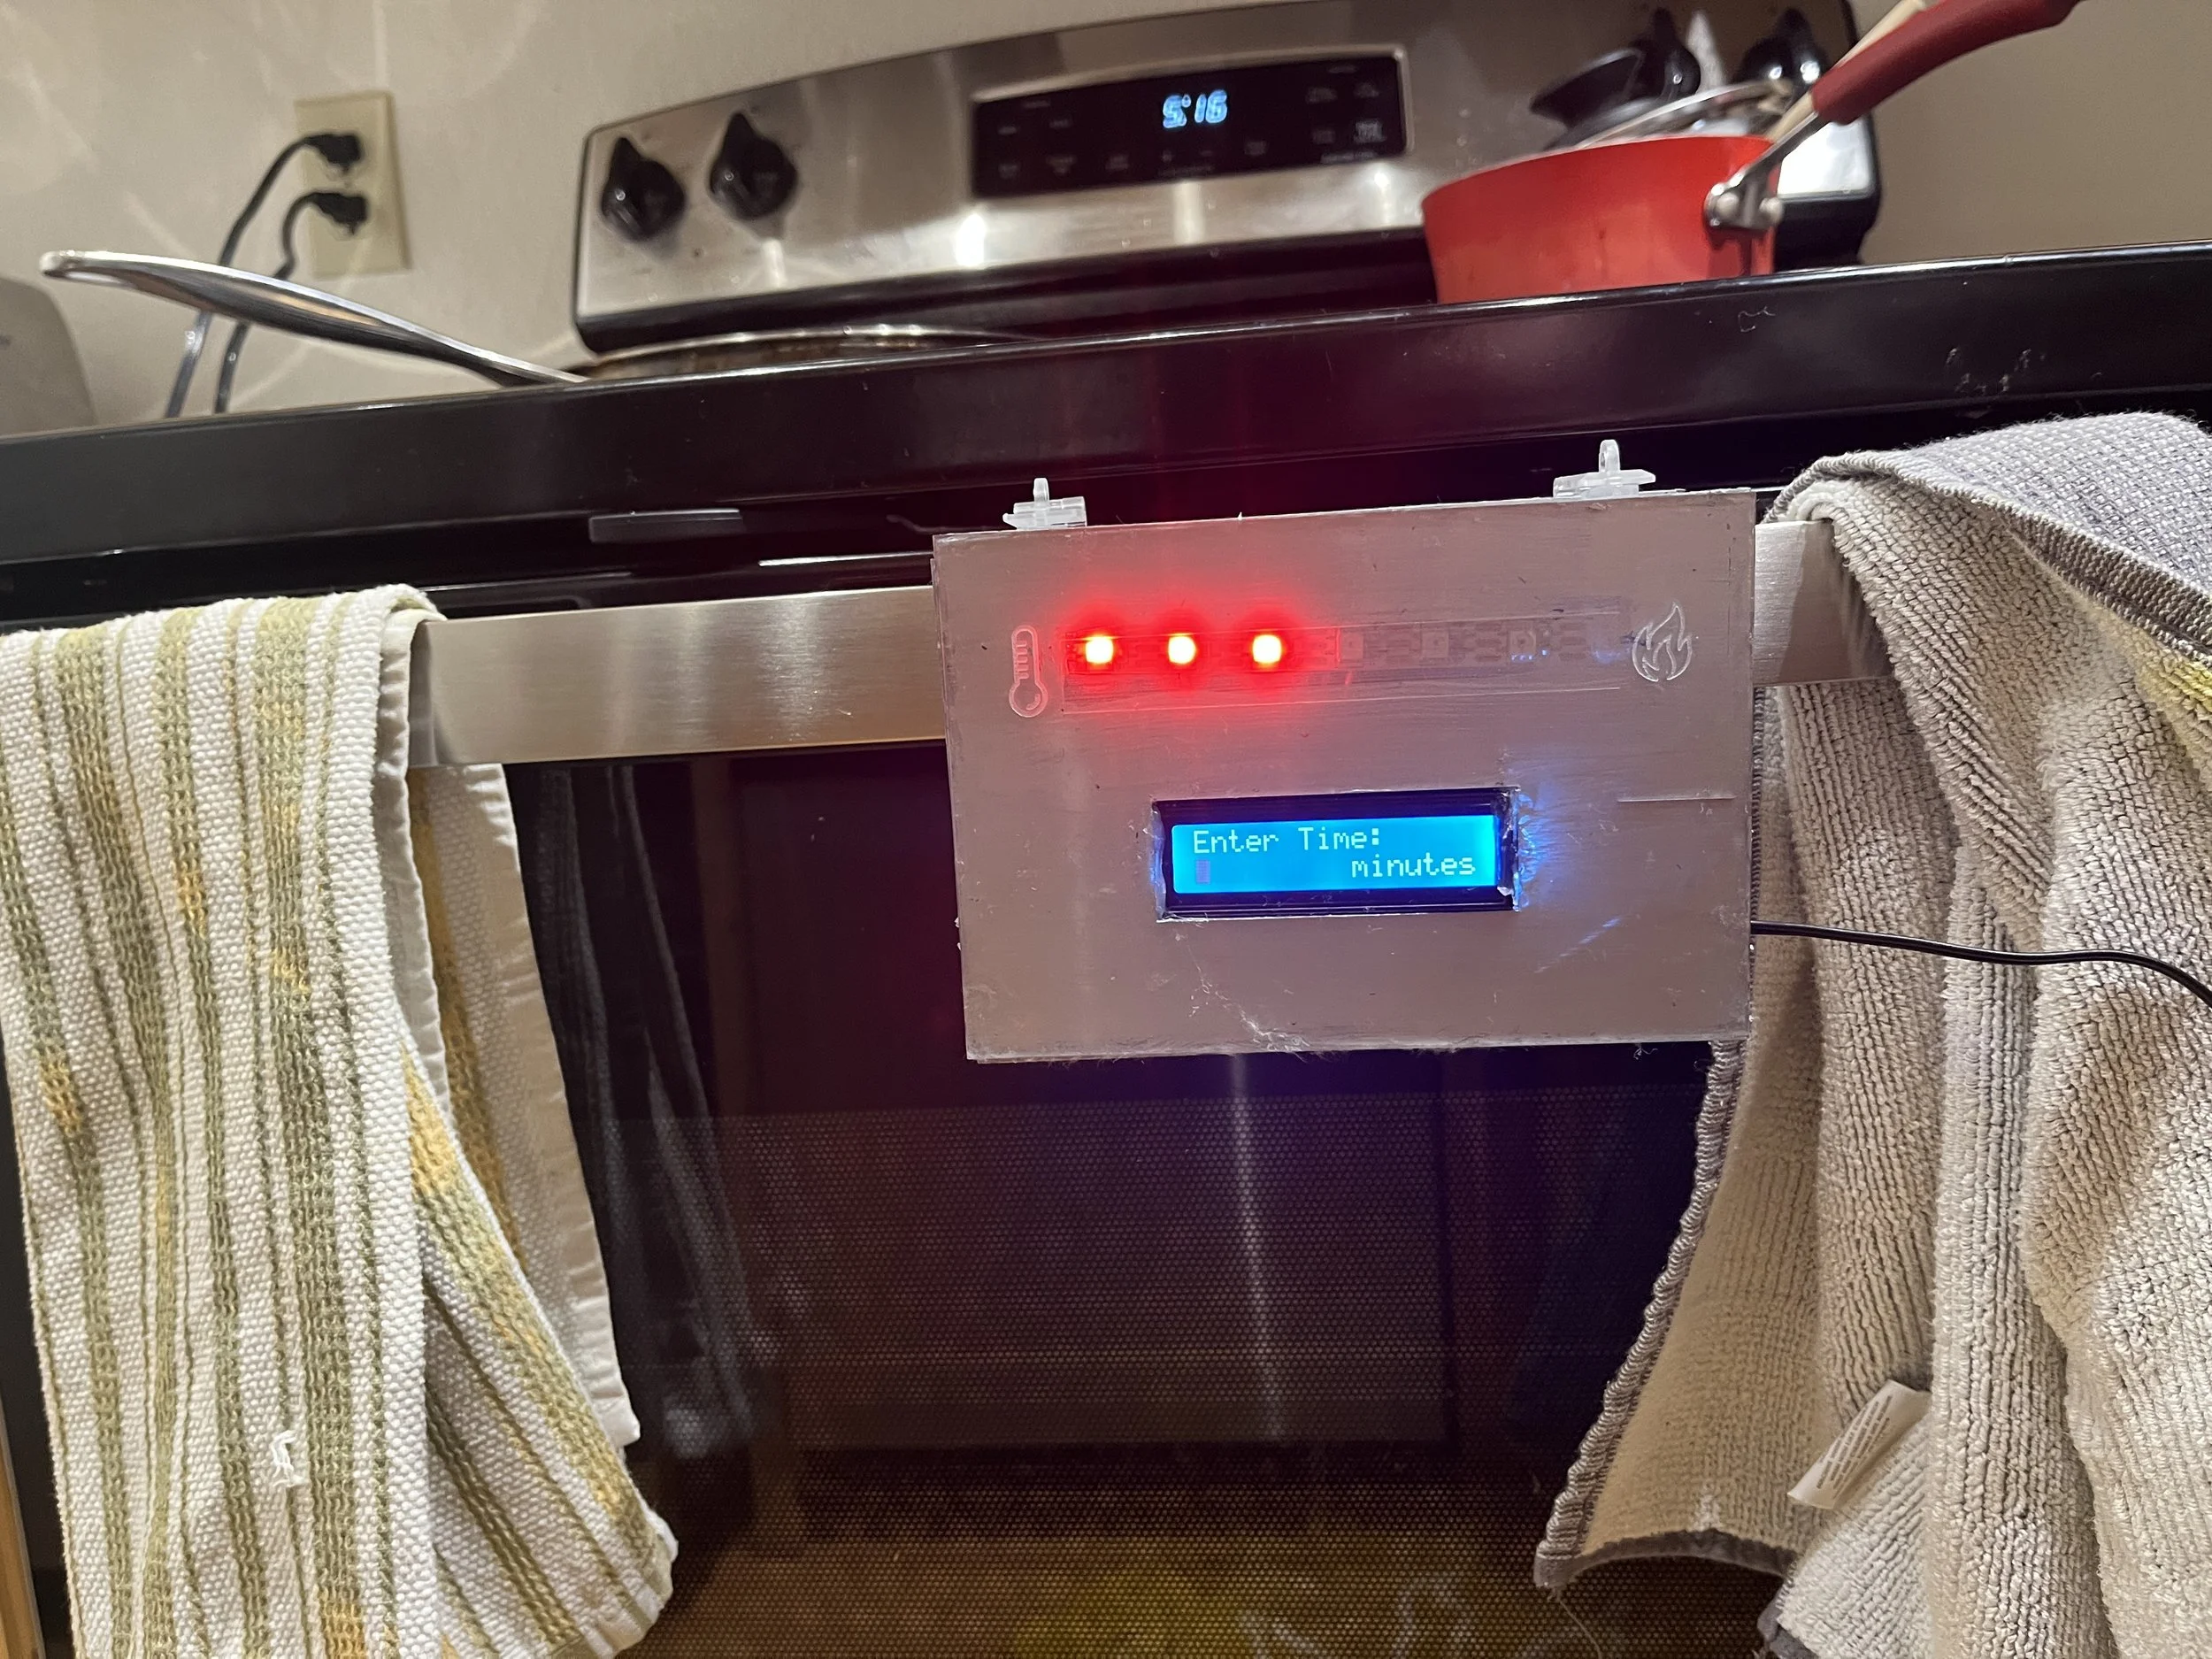
Iteration 2
New features and why
Remote-controlled interface (IR remote) :
No physical interaction with the device
Cleaner UI
Greater flexibility in setting or resetting the timer
OLED/LCD screen with written alerts (e.g. “Oven is ON,” “Time’s Up!”):
Clear communication (“Oven Still On!”)
Timer display
Status changes based on user input
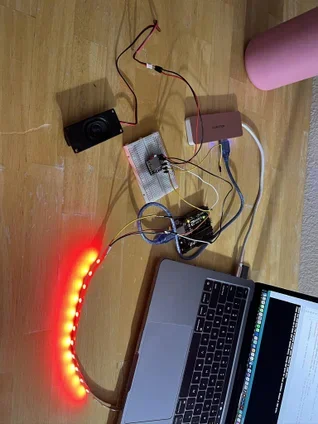
Animated Neopixel temperature/status gauge
Ambient, across-the-room visibility
“Heat” color progression (blue → red)
A fun, expressive design element
General additions:
Cleaner timer logic
More intuitive interactions
Stronger reliability and user-friendly messaging
Challenges
Creating buttons with a spring
Timing accuracy
Understanding the code
Making sure alerts were noticeable but not obnoxious
Outcome
A fully functioning Arduino device that helps prevent accidental oven misuse, is user-friendly and visible, represents significant technical growth, moves seamlessly between multiple input and output systems, and solves the original pet peeve in a fun and effective way. The device is not only functional — it’s genuinely helpful.
Reflection
The project was both challenging and incredibly rewarding. While the final device may not be as visually refined as I hoped (due to so much time going into electrical optimization and lack of education in fabrication at this point in my educational career), the underlying engineering represents a major technical milestone for me.
It taught me thoughtful interactions, to accept my imperfections, and how to build with real life considerations in mind.
And perhaps most importantly, I learned how to build functional microcontroller systems from scratch.